Installing the Access Point
This chapter contains the stepwise procedure to install the access point (AP).
Zero-Configuration of the Access Point
The AP supports zero-configuration under the following conditions:
- The device must be in AP mode with background scanning on and without a configured SSID.
- Set up a DNS entry fo wifi-security-server on all the DNS servers. This entry should point to the server IP address. By default, the AP looks for the DNS entry wifi-security-server.
- Place the AP on a DHCP-enabled subnet..
Assign a static IP address to the AP or change the settings to DHCP. Make a note of the AP MAC address and the IP address in a safe place before installing it in a hard-to-reach location. Locate the AP MAC address on a label at the bottom of the product.
Use the following steps to install the AP with zero-configuration:
Pole Mounting the AP
Use the mounting bracket and metal clamps to install the AP on a pole. Standard accessories include the mounting bracket and two metal clamps.
To mount the AP on a pole:
- Insert the two metal clamps into the bracket. You can insert the clams either in the horizontal or vertical slots depending on the position the pole-mount bracket for use on a vertical or horizontal pole.

- Attach the bracket to a pole. You can position the pole-mount bracket for use on a vertical or horizontal pole.
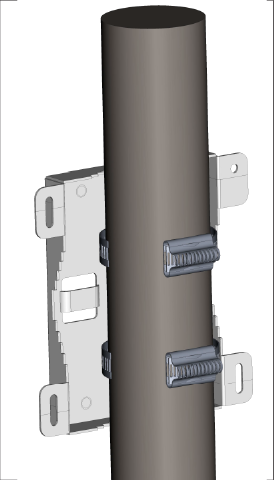
- Fasten the two metal clamps into the slotted driver.
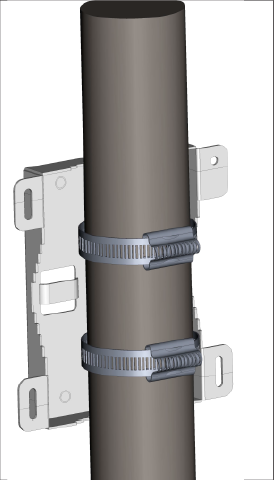
- Mount the AP to the bracket.
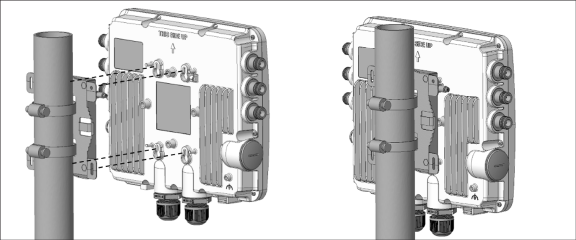
- Tighten the thumb screw using a Philips# 2 screwdriver.
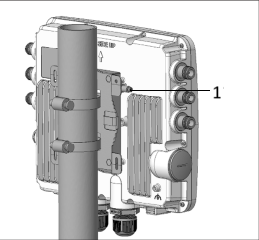
Table 1. Labels: Parts Label Description 1 Use a Philips #2 screwdriver to fasten the screw.
Connecting External Antennas to O-435E
Connect the external antennas to the respective ports using N Type connectors.
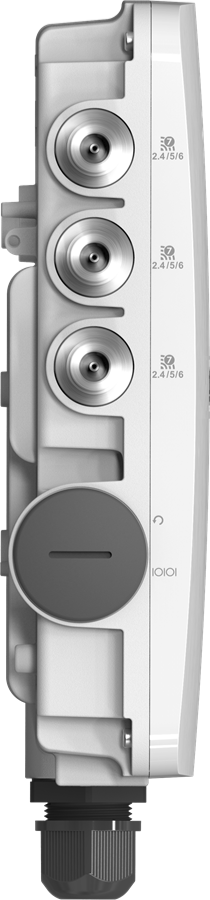
The AP has three (3) ports on each side of the AP, six (6) ports total. The access ports support 2.4/5/6 GHz band.