Networks

Managing Networks in ETM Dashboard

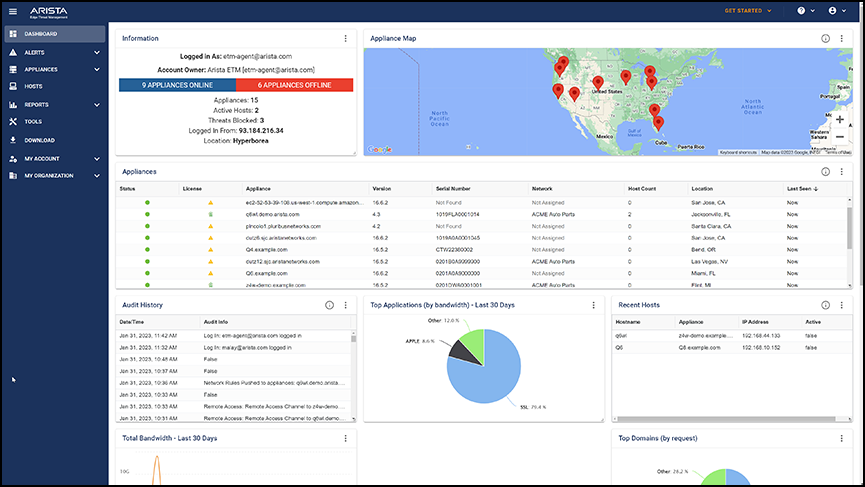
ETM Dashboard enables you to group Edge Threat Management NG Firewall and Micro Edge appliances into a network. By grouping appliances, you can obtain information specific to the collection of appliances in the Network. You can also apply a standard set of WAN Routing Rules to all Micro Edge appliances that belong to the same Network.

Note: NG Firewall appliances require a complete subscription to add to a network.

Creating a Network

To create a Network:
  1. Click the Networks tab. The Networks screen shows a list of your Networks.
  2. Click Create Network.
  3. Select the NG Firewall and Micro Edge appliances to add to your Network.
  4. Click Next to review the summary of your Network.
  5. Click Create.

Managing Appliances in your Network

Your Networks appear in the Networks panel of the Networks screen. Select a Network to manage its associated appliances.

Appliances Widget

The Appliances widget shows the status, software version, location, IP address, and other relevant details of each appliance in your Network. You can add or remove appliances from your Network using the Add Appliance and Remove Appliance buttons at the bottom of the widget.


Select the filter options to locate an appliance in the list by clicking the three horizontal lines in any column header.


The grid menu provides additional options, including sorting and choosing columns to show or hide appliance properties.


Map Widget

The Network Map widget displays the physical location of each appliance in your network. Hover over a marker to view additional details about the appliance, or click the marker to open the dashboard. If you enable appliances in Software-defined Networks, the map draws green or red lines between the markers to indicate the link status between each location.

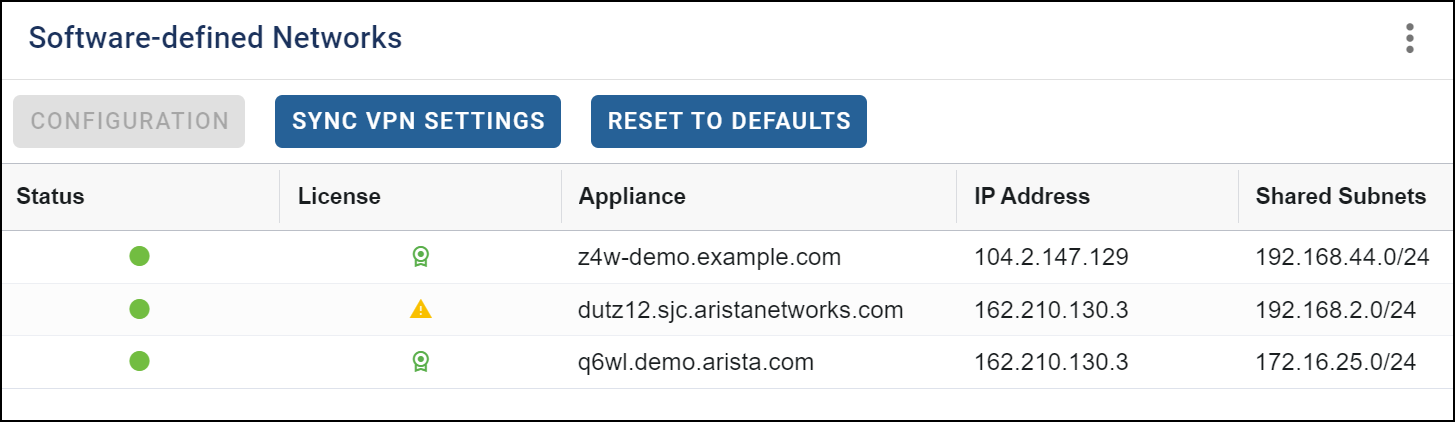
Software-defined Networks Widget

The Software-defined Networks widget enables you to configure a Virtual Private Network for appliances in the network. For more information on this widget, see Setting up Software-defined Networks in ETM Dashboard.

Network Performance Widget
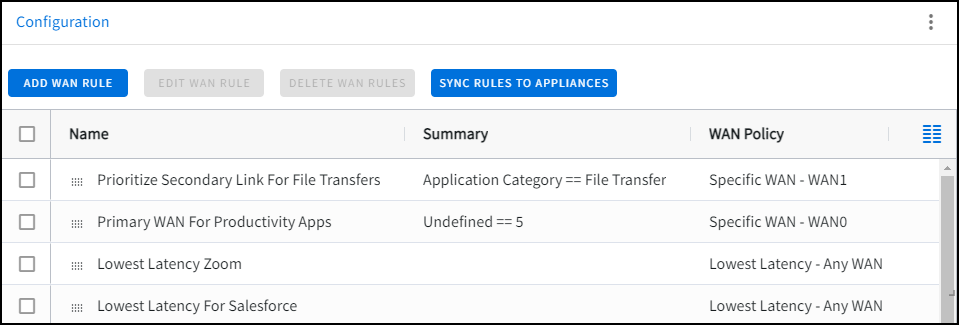
The Network Performance widget displays the average jitter, latency, and packet loss across all Micro Edge appliances in your Network. Click any of the performance metrics in the legend to show or hide its view in the line chart.

WAN Rules Widget

The WAN Rules widget establishes a common WAN Routing strategy for all Micro Edge appliances in your Network; for more information, see Configuring WAN Rules for Micro Edge in the ETM Dashboard.

Setting up Software-defined Networks in the ETM Dashboard

You can automatically set up one or more software-defined networks to connect remote office networks managed by Micro Edge and NG Firewall. The ETM dashboard controls each software-defined network and uses WireGuard VPN tunnels to route traffic between each network in a site-to-site mesh topology. Managing your software-defined networks via ETM Dashboard reduces the complexity of manually configuring VPN tunnels.


Prerequisites

Before configuring your Software-defined network, confirm that your appliances meet the following requirements:

Micro Edge
  • Version 3.1 or newer
NG Firewall
  • Version 16.1 or newer.
  • IPsec and OpenVPN must be disabled or uninstalled.
  • NG Firewall Complete or Trial License.
  • You must install the WireGuard app.

Setting up the Software-defined Network

To set up your software-defined network, you must first create one. See Managing Software-defined Networks in ETM Dashboard for steps to create your Software-defined Network.

After your Software-defined Network is set up with at least two appliances, you can configure the Software-defined Network.
  1. From the Networks list, select your network.
  2. Locate the Software Defined Network widget containing the appliances in your network.
  3. Select each appliance and click Configuration.
  4. Turn on the Enable option to activate VPN access for this appliance and the networks behind it.
  5. After enabling access, choose the local subnets you want to make accessible to other appliances in this network.
  6. You can also specify a new Endpoint Address if you would like to choose the WAN IP address used when other appliances connect to this appliance. You can enable the 'Automatic' option to allow the ETM Dashboard to determine the appropriate endpoint address.

Notes regarding shared subnets:
  • Selecting shared subnets is optional. If no local subnets are enabled, this appliance network acts in client mode and can access resources of remote networks but not vice versa.
  • If a local subnet conflicts with a shared subnet from a different appliance, you cannot enable VPN access, which may result in routing issues.

Synchronizing the Software-defined Network

After you enable access to your appliances and specify shared subnets, you must synchronize your changes. This action adds, removes, or updates VPN tunnels for each appliance in the network.

By clicking Sync VPN Settings, the ETM Dashboard queues the request for processing, which may take several minutes. You can review the Audit History to check the status of your sync request.


After synchronization, you can review the tunnels and their status by logging into each appliance.
Note: For NG Firewall appliances, the ETM Dashboard creates a tunnel for each remote appliance in the network. The ETM Dashboard only has a single tunnel interface for Micro Edge appliances. However, all remote networks are serviced via this tunnel interface.
Important: You may view the tunnels managed by the ETM Dashboard for status information and other relevant details. However, it would help if you did not edit these tunnels, as the ETM Dashboard will overwrite the changes during the next synchronization.

Troubleshooting

You confirm that the VPN tunnels are synchronized to an NG Firewall appliance; you can view the Enabled Tunnels grid on the WireGuard VPN Status page. The Last Handshake confirms the most recent successful transfer, and the Bytes In and Bytes Out assure that data flows in both directions.


You can view the Interfaces screen to confirm that VPN tunnels are synchronized to a Micro Edge appliance. The Connected and Online statuses confirm that the tunnel is up, and the arrows confirm that data flows in both directions.


You can check the status of your Centrally Managed Network tunnels from the Network Dashboard. The Network Map shows the links between each peer in the network.


If there is a specific reason that an appliance cannot sync, the Software Defined Network widget provides information in the Notes column next to the associated appliance.