CloudVision Profiles
Profiles are assigned to user accounts to customize their landing page on CloudVision and present information relevant to them. You can use built-in profiles or create custom ones. Profiles are assigned in Users to user accounts.
Related Topics
Profiles Section
The Profiles section is located under Settings > Profiles.
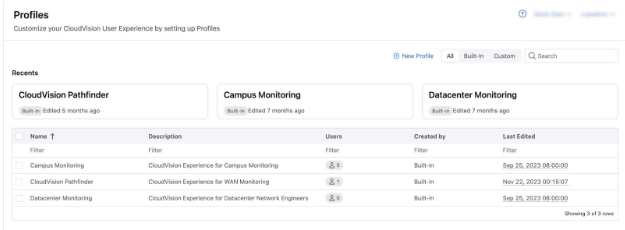
A table shows information about the configured profiles:
-
Name: The name of the profile. This is supplied by the user
-
Description: An optional description of the profile
-
Users: The number of users that have this profile assigned to them
-
Created by: The user who created the profile
-
Last Edited: The date and time when the profile was last modified
The three most recently edited or created profiles are highlighted at the top of the page.
You can filter the table to show all profiles, built-in profiles that come preconfigured with CloudVision, or custom-made profiles. You can also search the table for a specific profile.
Built-In Profiles
There are currently two built-in profiles: Datacenter Monitoring and Campus Monitoring. You will need to enable the Campus Features toggles in General Settings to view the Campus Monitoring profile.
You cannot edit built-in profiles.
-
Campus Monitoring: Set the default landing page to the Campus Health Overview dashboard.
-
Datacenter Monitoring: Set the default Landing page to Inventory.
Creating a Profile
You will create a custom profile when you want to apply a specific landing page for yourself or another user.
- Click New Profile.
Figure 2. New Profile 
- In the Create Profile panel, give your profile a name and optional description,
before selecting a landing page from the dropdown.
Figure 3. Create Profile Panel 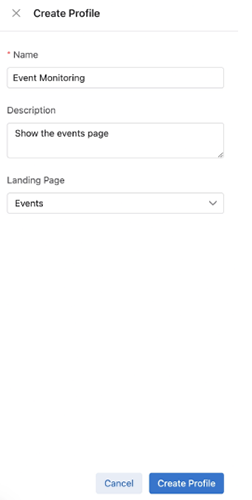
If you select a section of CloudVision that has multiple sub-sections underneath it, such as Dashboards or Devices, a second dropdown will appear to specify which your page selection.
Figure 4. Create Profile - Multiple Sub-sections 
- Click Create Profile to create your profile.
You will see the details of your new profile in the table. The Recents section above the table will also be updated to show details of your new profile.
You can now assign your new profile to a user.
Assigning a Profile
You will assign a profile when you want to change the landing page that a user sees upon login.
- Navigate to Settings > Users.
- Select a user you want to assign a profile to from the table.
- Select a profile from the Profile dropdown.
Figure 5. Assigning a Profile 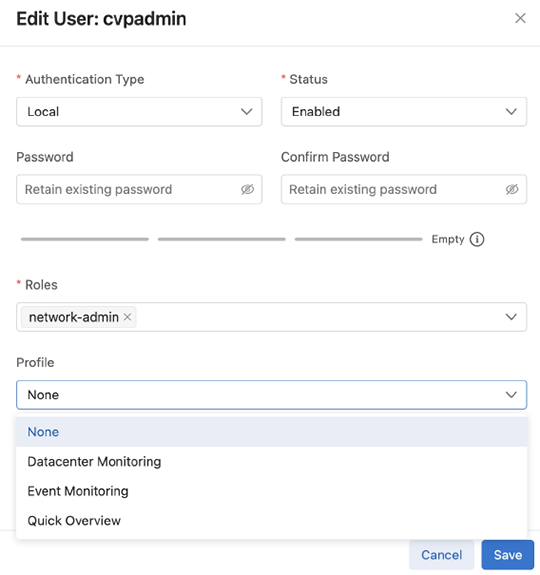
- Click Save.
The user account will now be assigned the profile and have its landing page updated.