Managing AAA Servers
The system uses the following functionalities to manage AAA servers:
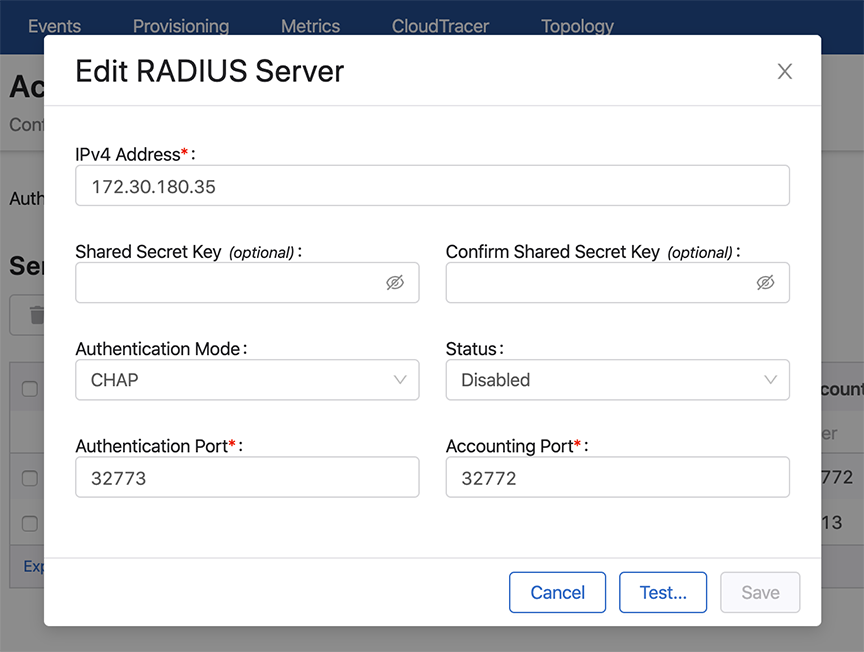
Adding AAA Servers
Modifying AAA Servers
Adding Vendor Specific Codes to AAA Servers
You can add vendor specific codes to AAA servers for the following:
RADIUS
Arista Vendor Specific Code: add it to the RADIUS dictionary.
VENDOR Arista 30065
BEGIN-VENDOR Arista
ATTRIBUTE Arista-AVPair 1 string
END-VENDOR Arista
To specify role for a user
"bob" Cleartext-Password := "Pa$sW04d"
Arista-AVPair = "shell:cvp-roles=network-admin",
Service-Type = NAS-Prompt-User
TACACS+
For TACACS+ there is no vendor specific code, just different strings.
Note: CloudVision support for TACACS+ servers can be affected with the
setting of the “service” parameter. Some TACACS servers may require "service =
shell" instead of "service = exec" in the TACACS+ configuration
(tacacs.conf).
This example configures user “bob” in the admin group and specifies certain attributes. It specifies a "cvp-roles" attribute for the CloudVision role name (it can also be a list of roles).
A. tacacs.conf
group = admingroup {
 default service = deny
 service = exec {
default attribute = permit
priv-lvl = 15
cvp-roles = network-admin
 }
	enable = nopassword

}
user = bob {
 login = cleartext "secret"
	member = admingroup
}

B. CVP AAA settings
C. Switch AAA configlet
CISCO ACS
To ensure that authentication and authorization work properly, complete the following procedures.
Creating Identity Groups and Users
- Select Users and Identity Stores, and then select Identity Groups.
- Make sure a group named <user-group> exists. If this group does not exist, add it.
- Add new users under the group named <user-group>.
Creating a Shell Profile using ACS
- Go to the Policy Elements page.
- Select Device Administration > Shell Profiles.
- Click the Create button to create a new shell profile.
- Select the Custom Attributes tab, and then add a new mandatory attribute named “cvp-roles”.
- Specify one or more of the following values to the new “cvp-roles”
attribute:
- network-admin
- network-operator
Note: If you have created custom role(s) under CVP Account Management, you can use them. - Check to make sure that under the “Common Tasks Attributes” table, “Assigned Privilege Level” and “Max Privilege Level” are added by default with and the specified value is 15. Also, verify that requirement is set “Mandatory.”
Creating and Modifying Access Policy
- Go to the Access Policies section and select the Default Device Admin policy.
- Make sure that “Allow PAP/ASCII” option in the Authorization section is enabled (selected).
- In the Authorization section, create a new rule named “Rule-1”.
- Make sure that the status of the new rule (“Rule-1”) is Enabled, and set the identity group as “<user-group>”.
- Select the shell profile that outlines the cvp-roles for all users under the
group named <user-group>.Note: Alternatively, you can set add shell profile in the “default rule” section.
- Make sure that “Service Selection Rules” (under the “Access Policies”
section), is using the policy named “Default Device Admin”. The policy
should be listed in the “Results” column of “Service Selection Policy”
table, and the “status” column should be green, indicating that the policy
is enabled. Note: The shell profile should be automatically applied to all users under the ground named <user-group>.
Supported TACACS Types
CloudVision Portal (CVP) supports different types of TACACS. Table Supported TACACS
Types lists the supported types of TACACS, including the following information
for each TACACS type:
- Supported version
- Service shell (whether it is supported for each type)
- Service exec (only the following attributes are supported):
- acl
- default
- double-quote-values
- message
- optional
- protocol
- return
- script
- set
| TACACS Type | Supported Version | Service Shell | Service Exec |
|---|---|---|---|
| tac_plus (Shruberry) | F4.0.4.26 | Not Applicable | Supported |
| tac_plus (Probono) |
201706241310 201503290942/DES |
Supported | Supported |
| CISCO ACS |
4.4.0.46 5.3.0.40 |
Supported | Not Applicable |
Related topics:
Removing AAA Servers
Complete these steps to remove AAA servers:


